RadiMation Application Note 127
Making a custom emission table with the report generator[edit]
In this application note we explain how you can use the report generator to generate a custom emission table with the values that you need.
Overview[edit]
This application note is a addition to the manual.
Please read: Inserting the peak limit to the table
When you do a Radiated test in Radimation you get a peak table which shows the peaks found and the different columns of information. This information is dynamic and based on the test settings. Eg. you will not see avg column when you are not using that trace.
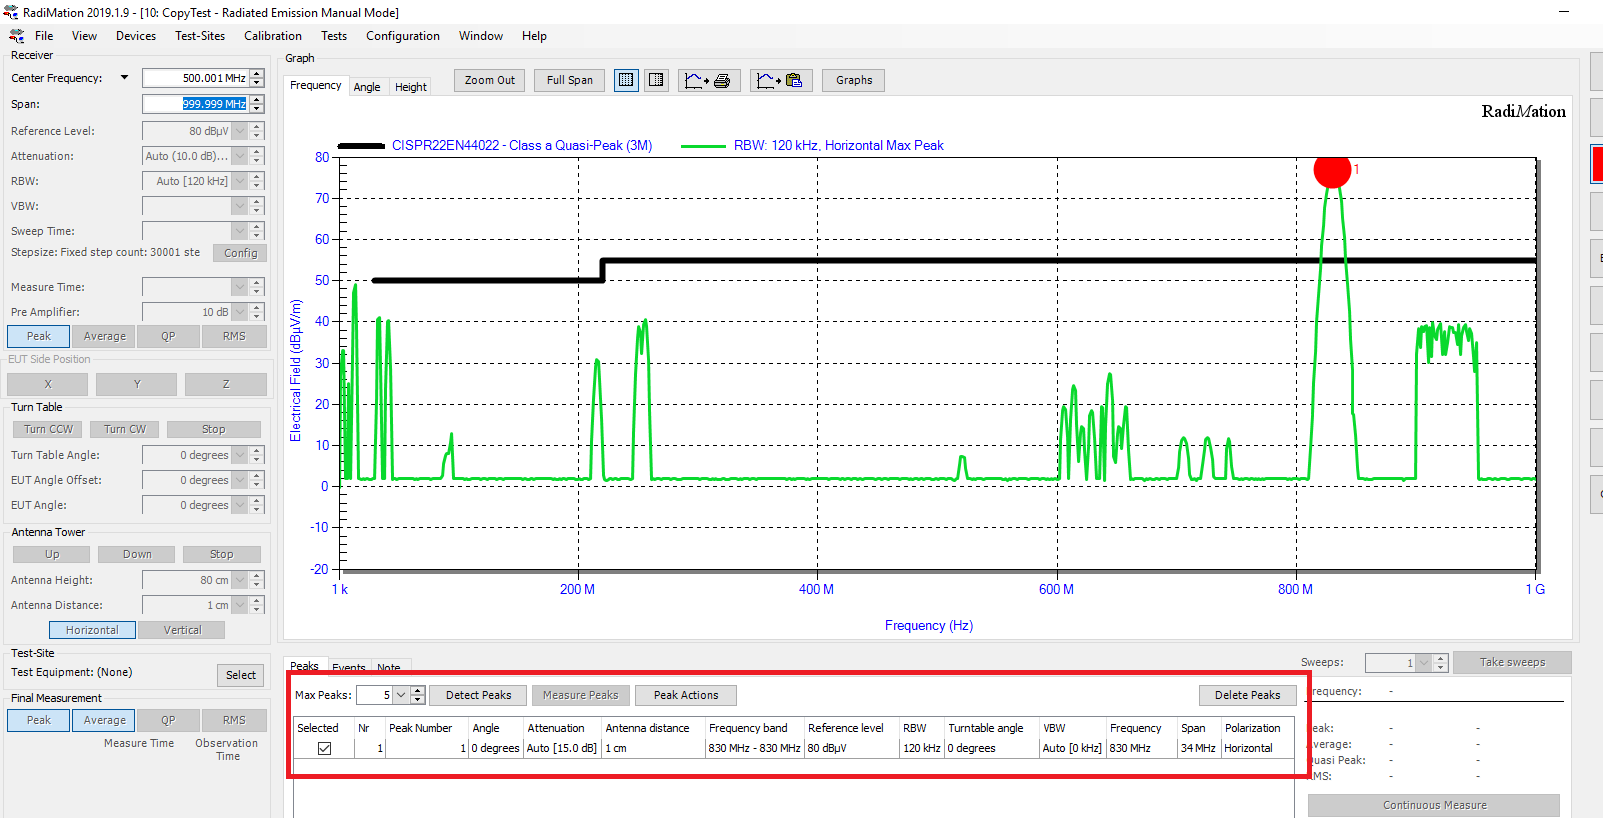
This can make it a bit confusing when you need to make a table. In this application note we explain how to find the values and explain some best practices. In the picture below the emission table is displayed. All the values that you see here can be retrieved by the report generator from that document.
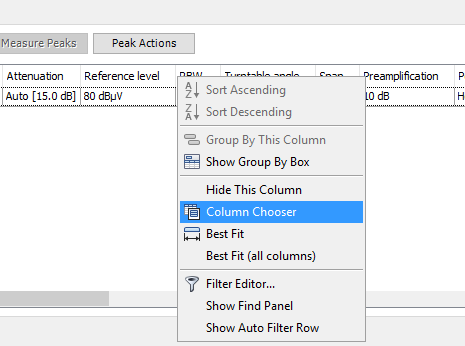
Be aware that not always all columns are displayed. This can be selected by using the column chooser. The column chooser can be used to add columns. Use remove column to remove a column. Once removed it can be chosen again via the column chooser.
It is important to understand that not all values are visible. When you use the report generator and build a custom table you need to know what is exactly in the table as you need the exact column names to retrieve them.
Displaying the table in Excel[edit]
To see what you can retrieve from the table you need to know what the output is of the table. The best practice to do this is to export the table to excel. We use excel because it is easy to display large tables.
Make a excel file. In the first cell place the following code:
||SELECT ALL FROM PEAK TABLE||
This will then result in a table looking something like this (The result can be different as it is dependent of the settings used):
Now you have output the whole table. Now you can see all the data that you can retrieve from the testfile. This helps to see what you can retrieve wit the report generator and to know what the column names are.
Look for the columns you want to add and write down the column names used.
Using the data from the excel table output[edit]
Now that you know the columns you want to retrieve and their names you can build your select statement:
||SELECT [Peak Number], Frequency, RBW, Peak, Peak Limit, Status FROM PEAK TABLE||
Any of the column names that you have can be added to the select statement to build your custom table.
Below we are adding the Peak Limit to the table.
||SELECT [Peak Number], Frequency, RBW, Peak, [Peak Difference], Peak Limit, Status FROM PEAK TABLE||
Pointers[edit]
As the report is depended from the columns in the test it is best to first build your test exactly as you want before starting to make the report. This is because when you have build the test and it is final then you know for certain that you have all the data to generate the reports you need.


