Helix ALM
Jump to navigation
Jump to search
We are currently using Helix ALM version 2019.1.0 to register and maintain all the reported tickets.
Online web interface
The online web version of the Helix ALM database is available at http://testtrack.radimation.com/
Windows Client & Mac Client
You can download the correct Microsoft Windows client software to access the Helix ALM database from here
The Helix ALM Client for Mac OS can be downloaded from here
| Note: | Installing a newer or an older version then the version running on the server will not work. You will get a warning message, when the version of the client and server software do not match. |
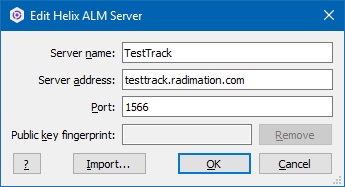
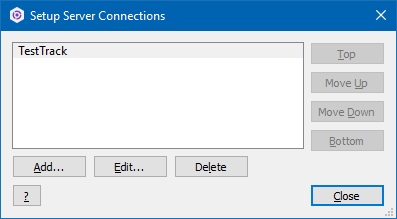
After installing use the following configuration to contact the database server:
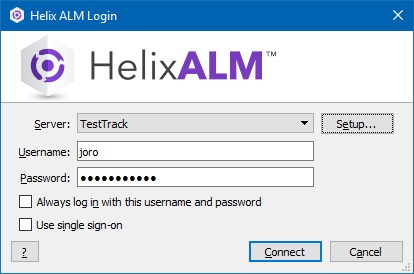
Then use your own username and password to connect to the database
Adding a customer
The following steps can be used to add a new customer to the list of known customers in Helix ALM
- Start Helix ALM
- Show the list of customers (menu: View > Customers)
- Press the 'Add...' button
- Specify the company name in the 'Last Name:' field
- Add the new customer to the correct security group by selecting the group in the 'Security group: ' field. The correct group should be: 'Customer of <reseller-name>'.
- Select the 'Address' tab
- Specify the company name in the 'Company:' field
- Any additional field can also be specified on the 'Address' tab
- Press the 'Close' button, ensuring that the data will be saved (click 'yes')
- Show the list of filters (menu: View > Filters)
- Select a filter for a customer, for example the filter: "Customer: ASML"
- Right-click the filter in the list, and select the 'Duplicate Filter' option.
- A new filter will now be created which has a ".1" prepended (in our example: "Customer: ASML.1". Open that filter by double-clicking it in the list.
- Update the name of the filter to include the correct new customer name by changing the value in the 'Name:' field
- Change the criteria of the filter, by double-clicking on the 'Found by is in list {...}' item
- Deselect the old customer name in the list of shown customers, and select the new customer name in the list. Then press 'Ok'
- Finalize the new filter by clicking on the 'Ok' button.
From now on the customer is now in Helix ALM and all filters are correctly updated.


