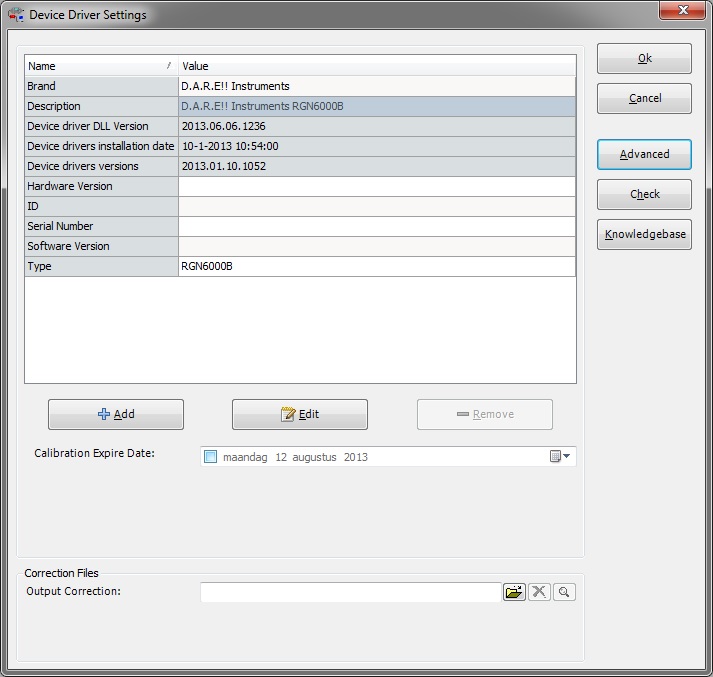
Check the driver by pushing a button on the configuration screen
The Device driver settings configuration window, now contains a 'check' button that can be used to check if the device driver is correctly connected to the PC.
If the 'Check' button is pressed, the following actions are performed:
- RadiMation tries to load the DLL of the device driver
- RadiMation tries to create an instance of the device driver
- The settings as configured under 'Advanced' are loaded
- The device driver is instructed to check if the (hardware) device itself is working correctly
- The device driver instance is removed from memory again
If one of these steps is unsuccessful, an error will be shown. If all steps are successful, a message will be shown that the check did not raise any errors.
This 'Check' button is very helpful because it is a fast method if the advanced settings (most often the (GPIB) address) of the device are set correctly. If this 'Check' is successful, the 'device check' during the test initialization at the begin of the test will also be successfull, because the same check is performed.
Some devices (like antenna's, couplers, LISN's, injection clamps, etc...) cannot be checked for the correct connection to the PC (done at step 4), because there is no connection at all. In this situation the above message will also be shown. The check that is performed is depending on the implemented device driver. Some device drivers for example assume that the LASER of the device is activated before the check is successful.
|

