Signal Offset With Receiver
A very often used verification of the correct functioning of measurement equipment and software, is the measurement of a signal that is generated by a signal generator, using a measurement receiver.
However, in some situations it is possible that a small frequency offset is detected. This page describes a possible solution for the frequency offset when doing a measurement with a signal generator and a measurement receiver.
Assume the following configurations:
| Signal Generator Settings | |
|---|---|
| Setting | Value |
| Carrier Frequency | 100 kHz |
| Receiver Settings | |
|---|---|
| Setting | Value |
| Start Frequency | 30 kHz |
| End Frequency | 150 kHz |
| RBW | 200 Hz |
| Step size | 200 Hz |
| Note: | The selected step frequency of 200 Hz is also possibly generating complications. It is always advised to use the selected RBW/2 or less as the step frequency. |
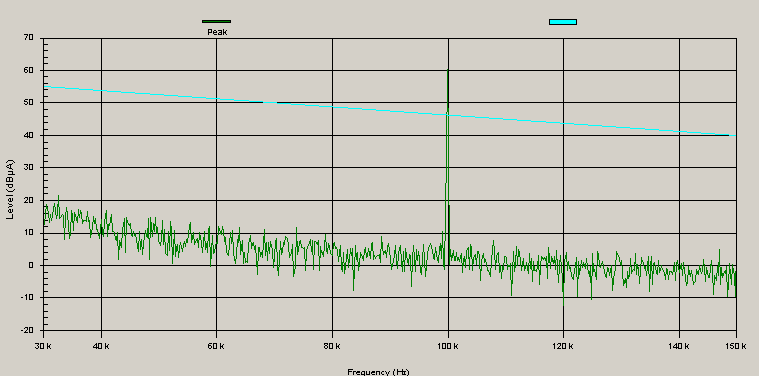
With these settings we get the following emission spectrum:

As you can see the emission is starting a little bit before the 100 kHz. And the measured emission signal is already decreasing on 100 kHz itself.
Reference frequency synchronisation[edit]
A possible cause for this is that the 10 MHz references of both measurement devices are not exactly the same. This can result in small differences in the frequency accuracy.
It is always best to connect the external reference output from one device to the external reference input of the other devices. This will ensure that all devices will use the same 10 MHz reference. It is very often possible for every device, to generate the 10 MHz reference, but in many cases the 10 MHz from the receiver will be more accurate then the one of the signal generator. Because the references are now the same, the above described frequency offset will be more accurate (in the order of Hz). Because the measurement is done with a 200 Hz RBW and step size this may just be the accuracy that is needed to detect the peak at exactly 100 kHz.
Manual[edit]
Most devices have a BNC connector on the back of the device, that can be used as an input or output of the reference signal. If this connector behaves as an input or output, has to be configured in the configuration of the device itself. This configuration is device specific. The end-user manual of the used device contains more detailed information on how this should be done.
Example connectors[edit]
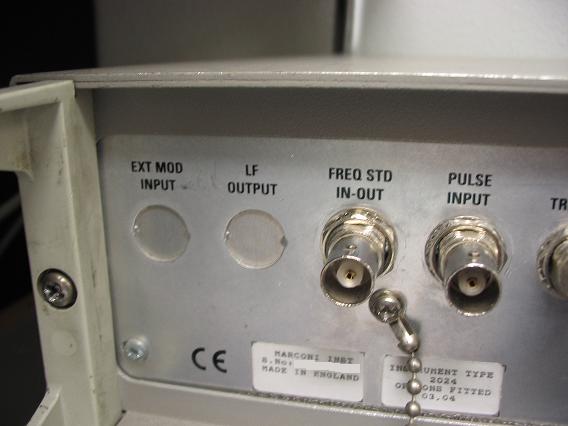
Marconi 2024 Reference connector
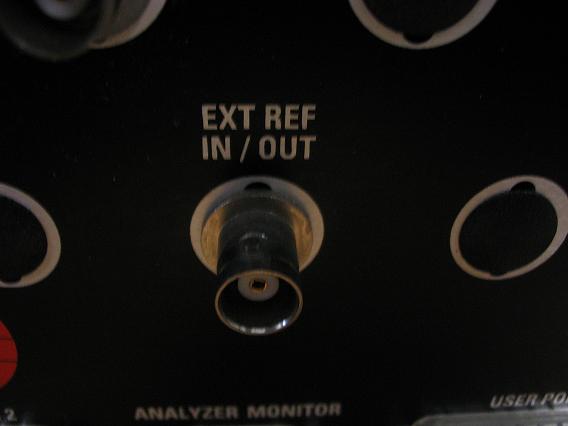
Rohde & Schwarz ESIB Reference connector

