Chapter 3
Monitoring input channels tab[edit]
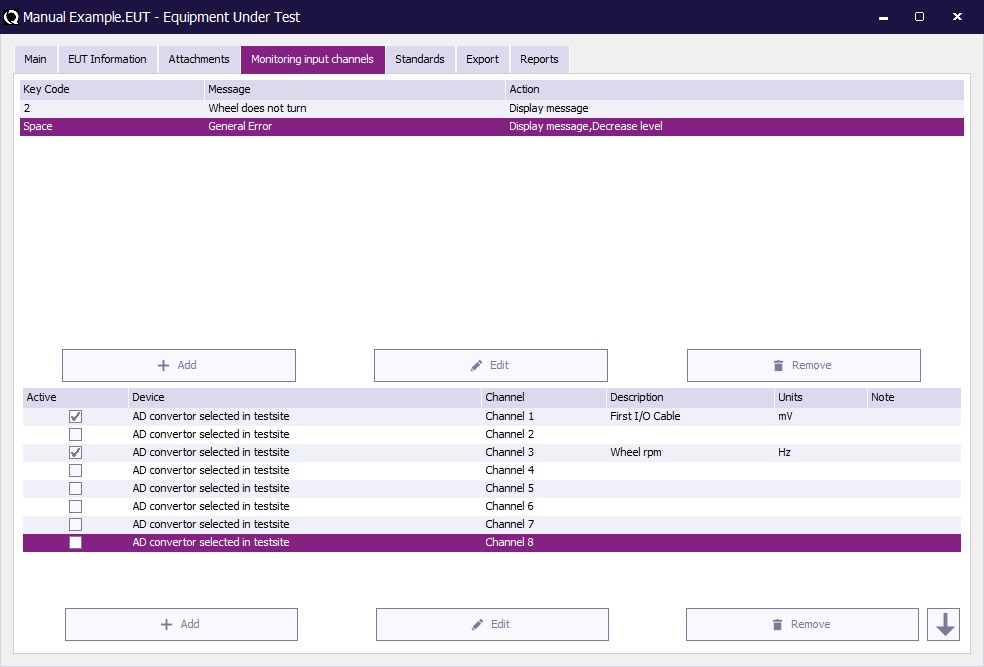
The Monitoring input channels tab shows information about short cut keys that can be used during measurement, as well as the automatic monitoring channels that should be used during immunity tests.
Short cut key[edit]
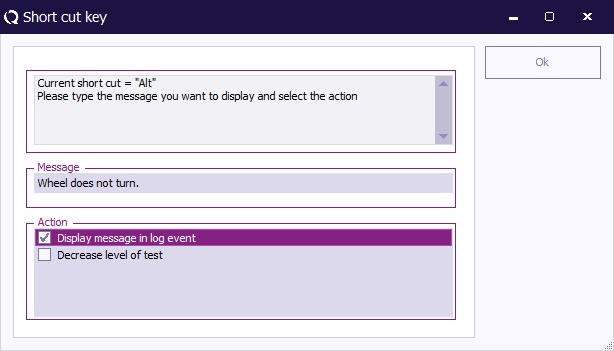
A short cut key is useful when a user wants to record information that can not be recorded when using AD-channels. For example a wheel that is slowing down or accelerating. With short cut keys the engineer can press a key and RadiMation® will insert some predefined text in the test log and/or decrease the level of the measurement. This depends on the settings for the specific key or key combination. Adding or creating a short cut key can be done by selecting the button for the desired action. Of course when editing an item, you must select the item before pressing the button. The window displayed below will appear.
Select the top window and press the key or key combination you wish to use. The window will display the currently used short cut key. In the window showed above it’s the “Alt” button. Select the second window and type the message you want to display in the log file. Then select the actions you want to have when pressing the short cut key. Press Ok to confirm.
Monitoring input channels[edit]
Monitoring input channels are used to monitor the EUT during testing. It is an easy way of checking if the EUT is affected by external sources. You simply connect the input of an AD convertor (like a multimeter) to the EUT, and configure RadiMation® that the device should be used to perform a measurement a the value at every frequency. Chapter 10: EUT monitoring and control will discuss the monitoring of the EUT in more detail.
You can select an EUT monitoring input to be used during the measurement by using the check box in front of the channel. The Edit button can be used to open the configuration window of the EUT Monitoring channel.
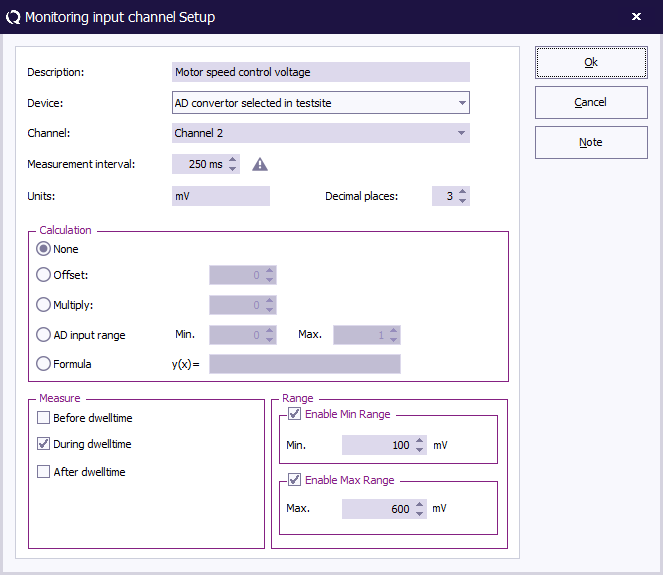
The configuration of the EUT monitoring input consists of:
| Can be any text that identifies this channel. This description will also be used as the graphline in the final test. |
| The device driver that should be used to perform the measurement of the value. |
| The channel of the selected device driver that should be measured. |
| For pulsed immunity tests, a measurement interval can be specified. This measurement interval is not used for radiated and conducted immunity tests, and then not relevant. |
| The unit that should be used for the representation of the measured value. The specified unit is only used as a label in the corresponding graph. |
| The number of decimal places that should be used to represent the measured values, when the values are shown as a numerical value, for example in a table. |
| The measured value can be recalculated to another value. |
| The selected options in the Measure group, determine at which moment the monitoring input will be measured. One or more of these options can be selected. |
| A range of allowed values can be specified for this measurement. The Min Range can be set to specify the minimum allowed valid value of the measurement. The Max Range can be set to specify the maximum allowed valid value of the measurement. If at any moment the measured value is out of this accepted allowed range, it is assumed that the EUT is being influenced. |
| Any additional information or documentation can be added to the monitoring input, by specifying it in the note. This information can be used to describe test conditions or the response of the EUT during the tests. The information can also be changed after the test is completed in the test information screen. |
Standards[edit]
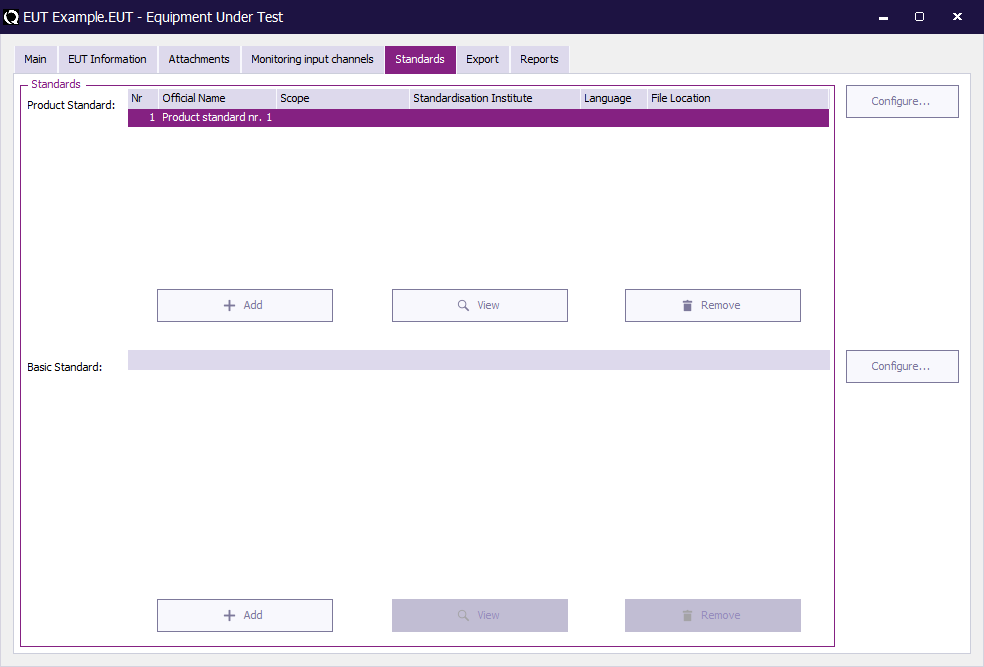
Product Standards describe which tests have to be performed on a specific type of product. There are many product standards, roughly one for each type of product. There (probably) is a product standard for: - Washing machine - Hair dryer - Car radio - Television Very often the product standards refer to multiple basic standards.
A basic standard describes a type of test that should be performed. For each test there is a basic standard. Also for each basic standard, one single TSF could be generated which is configured to perform the test described in the basic standard.
A Product standard describes all the tests that should be performed on an EUT, a basic standard only describes one single test.
RadiMation should be changed in such a way that the software knows the names of the standard that are used to perform the tests. There are two known types of standards in RadiMation: - Basic Standard - Product Standard.
Press select to select a product standard. Selecting a product standard will overwrite all basic standards displayed in the lower window. When basic standards are selected, Radimation® will ask if you want to overwrite the information.
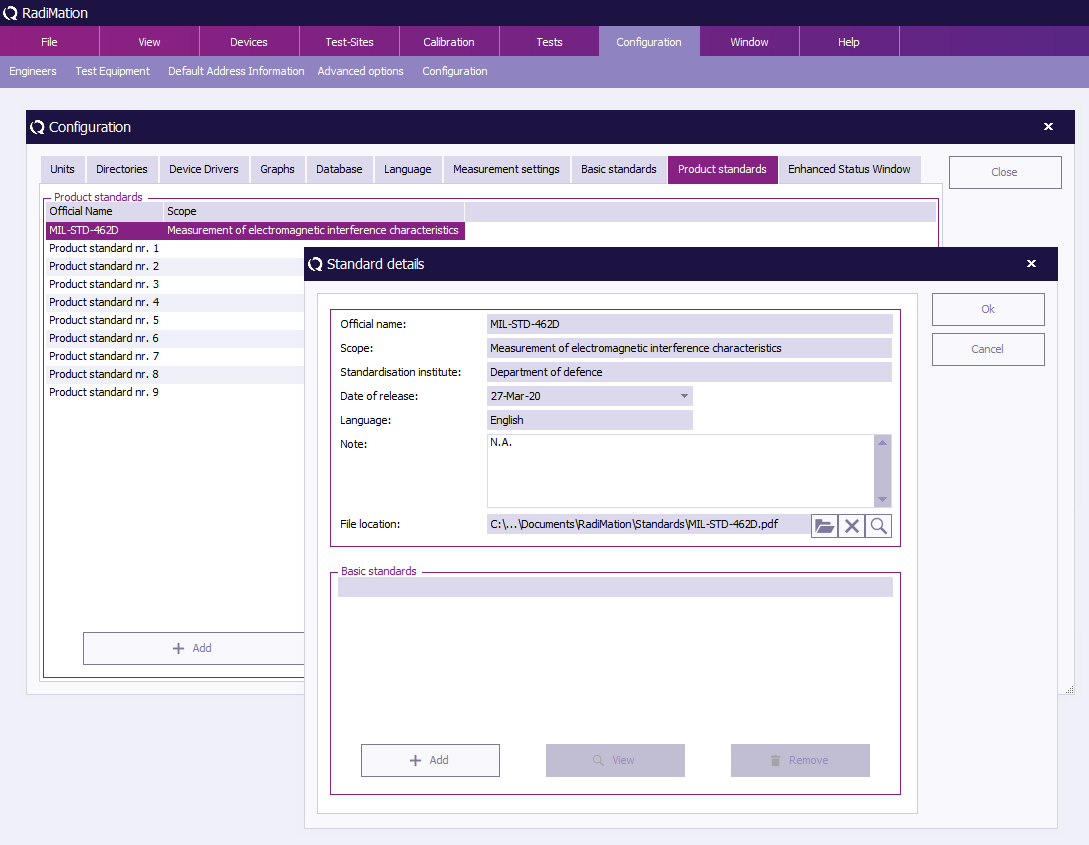
In the select standard window you can select or view the details of a standard. Select the standard you whish to view or select and press the button that applies to your desire.
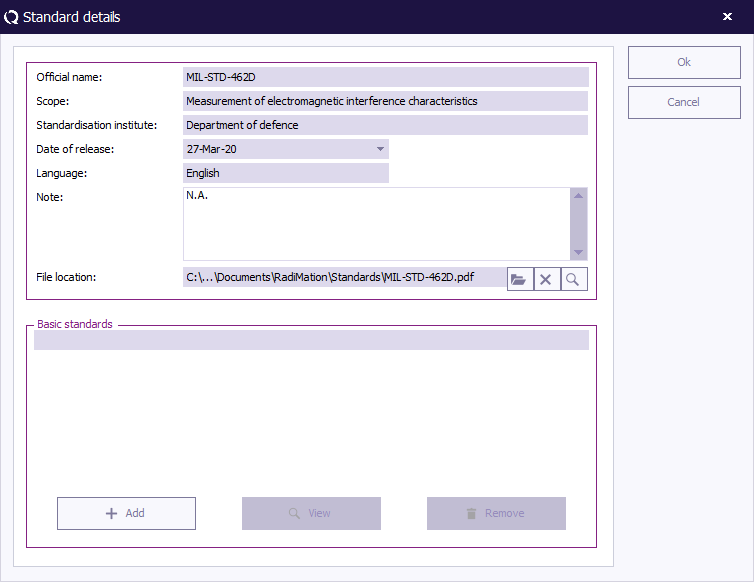
Pressing the detail button will show the window below.
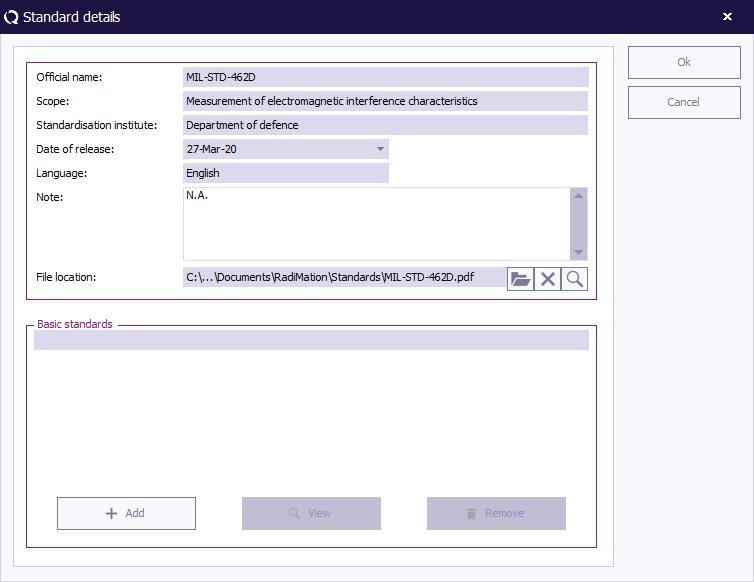
Once a file has been inserted in the file selection the test engineer can open this file, with default viewer when installed, by pressing the magnifying glass. Selecting a basic standard and pressing the detailed button will display a window, showed below, with the information of the basic standard.
Reports tab[edit]
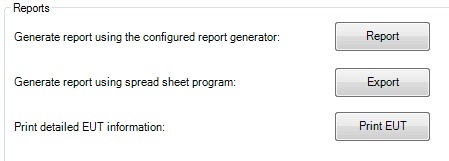
| Pressing Report will start the report generator. Please read the chapter Report generator for further information. |
| Pressing Export will start the Excel Exporter. Please read the chapter Report generator for further information. |
| Pressing Print EUT starts the print out of the EUT information. This printout holds all the information about the EUT. |
